×
Products
New Products
M-Game
USB Audio | Midi Interfaces
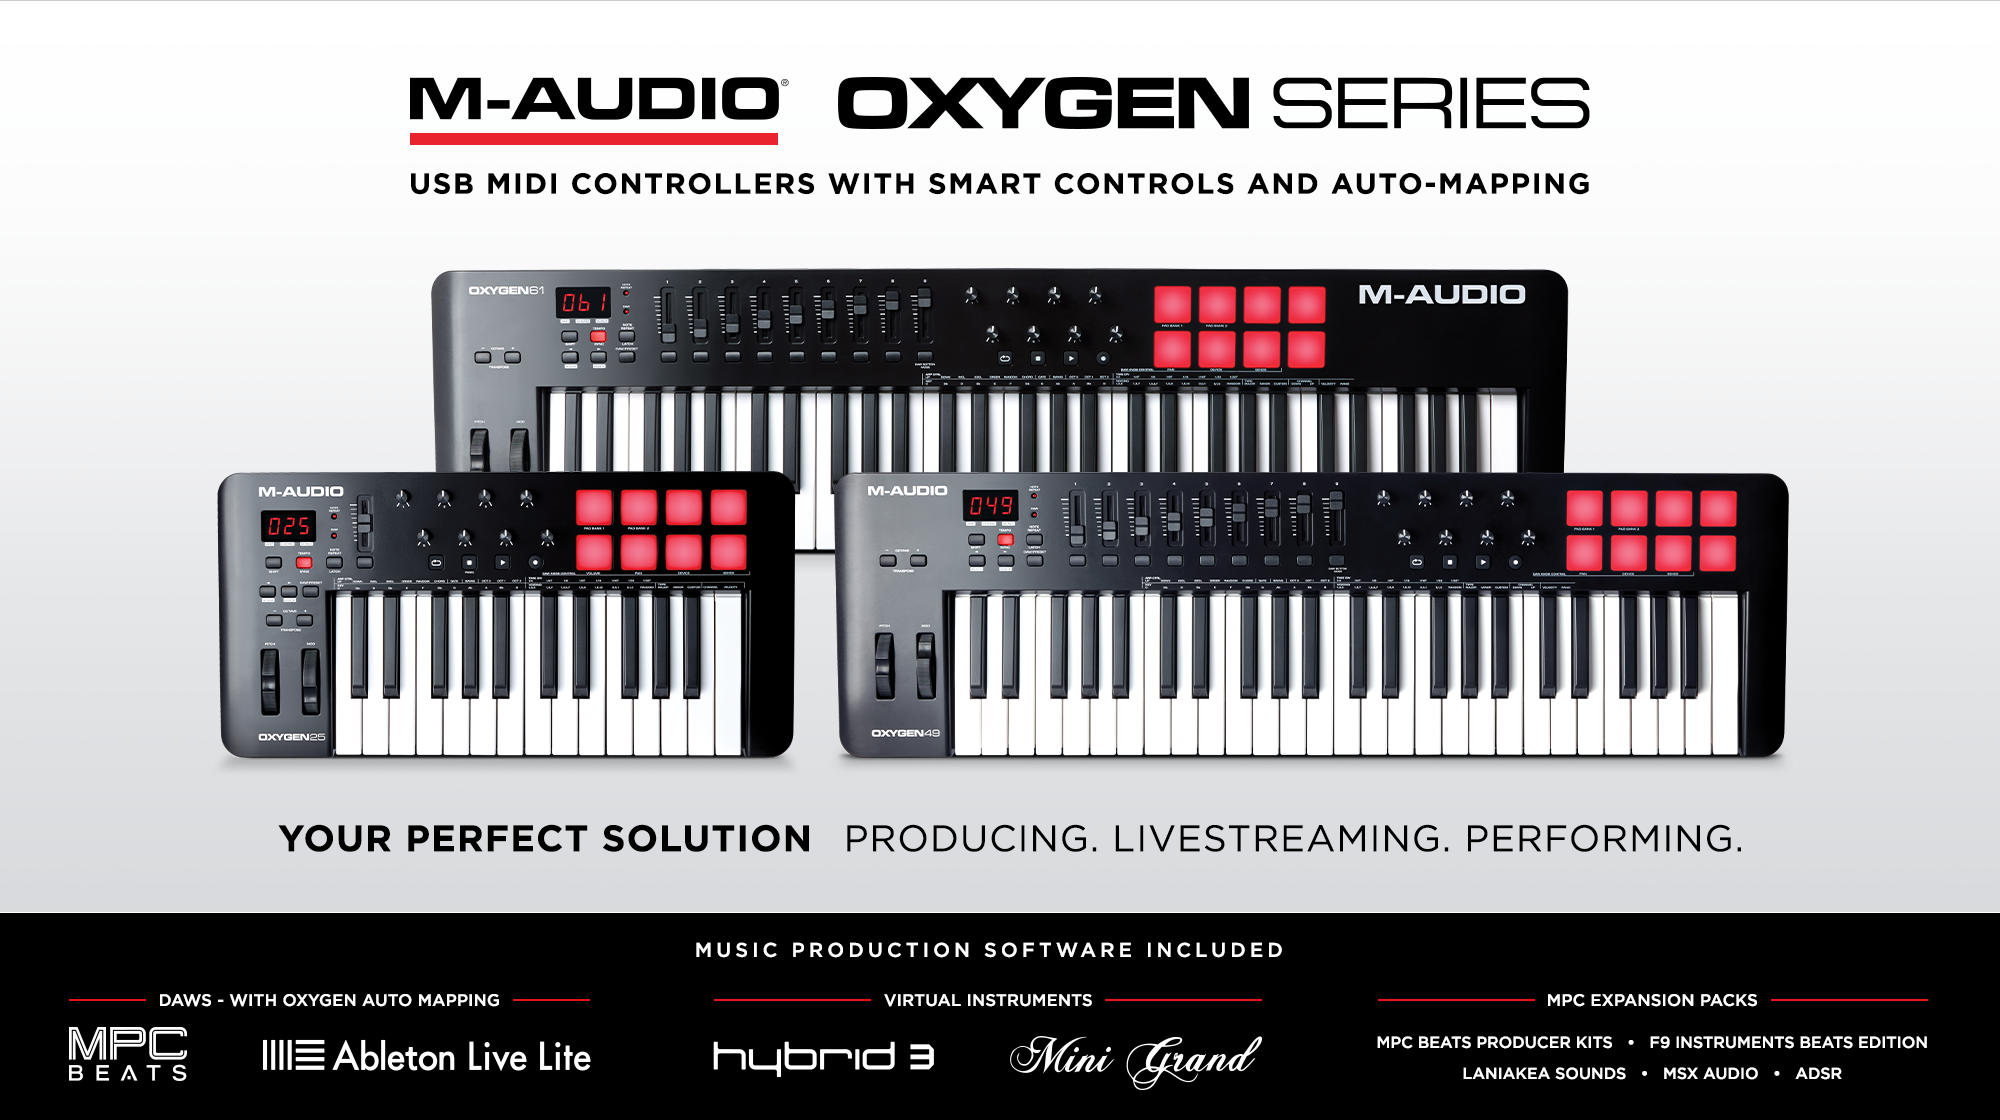
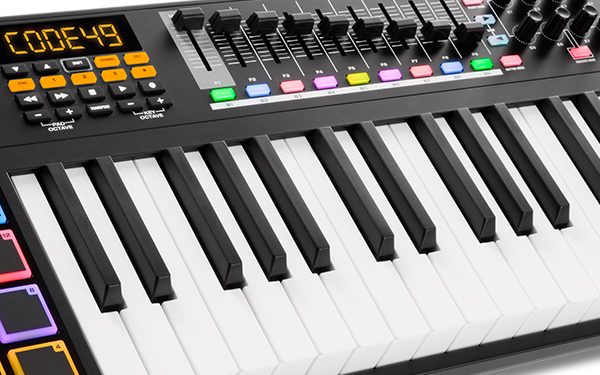
Keyboard Controllers
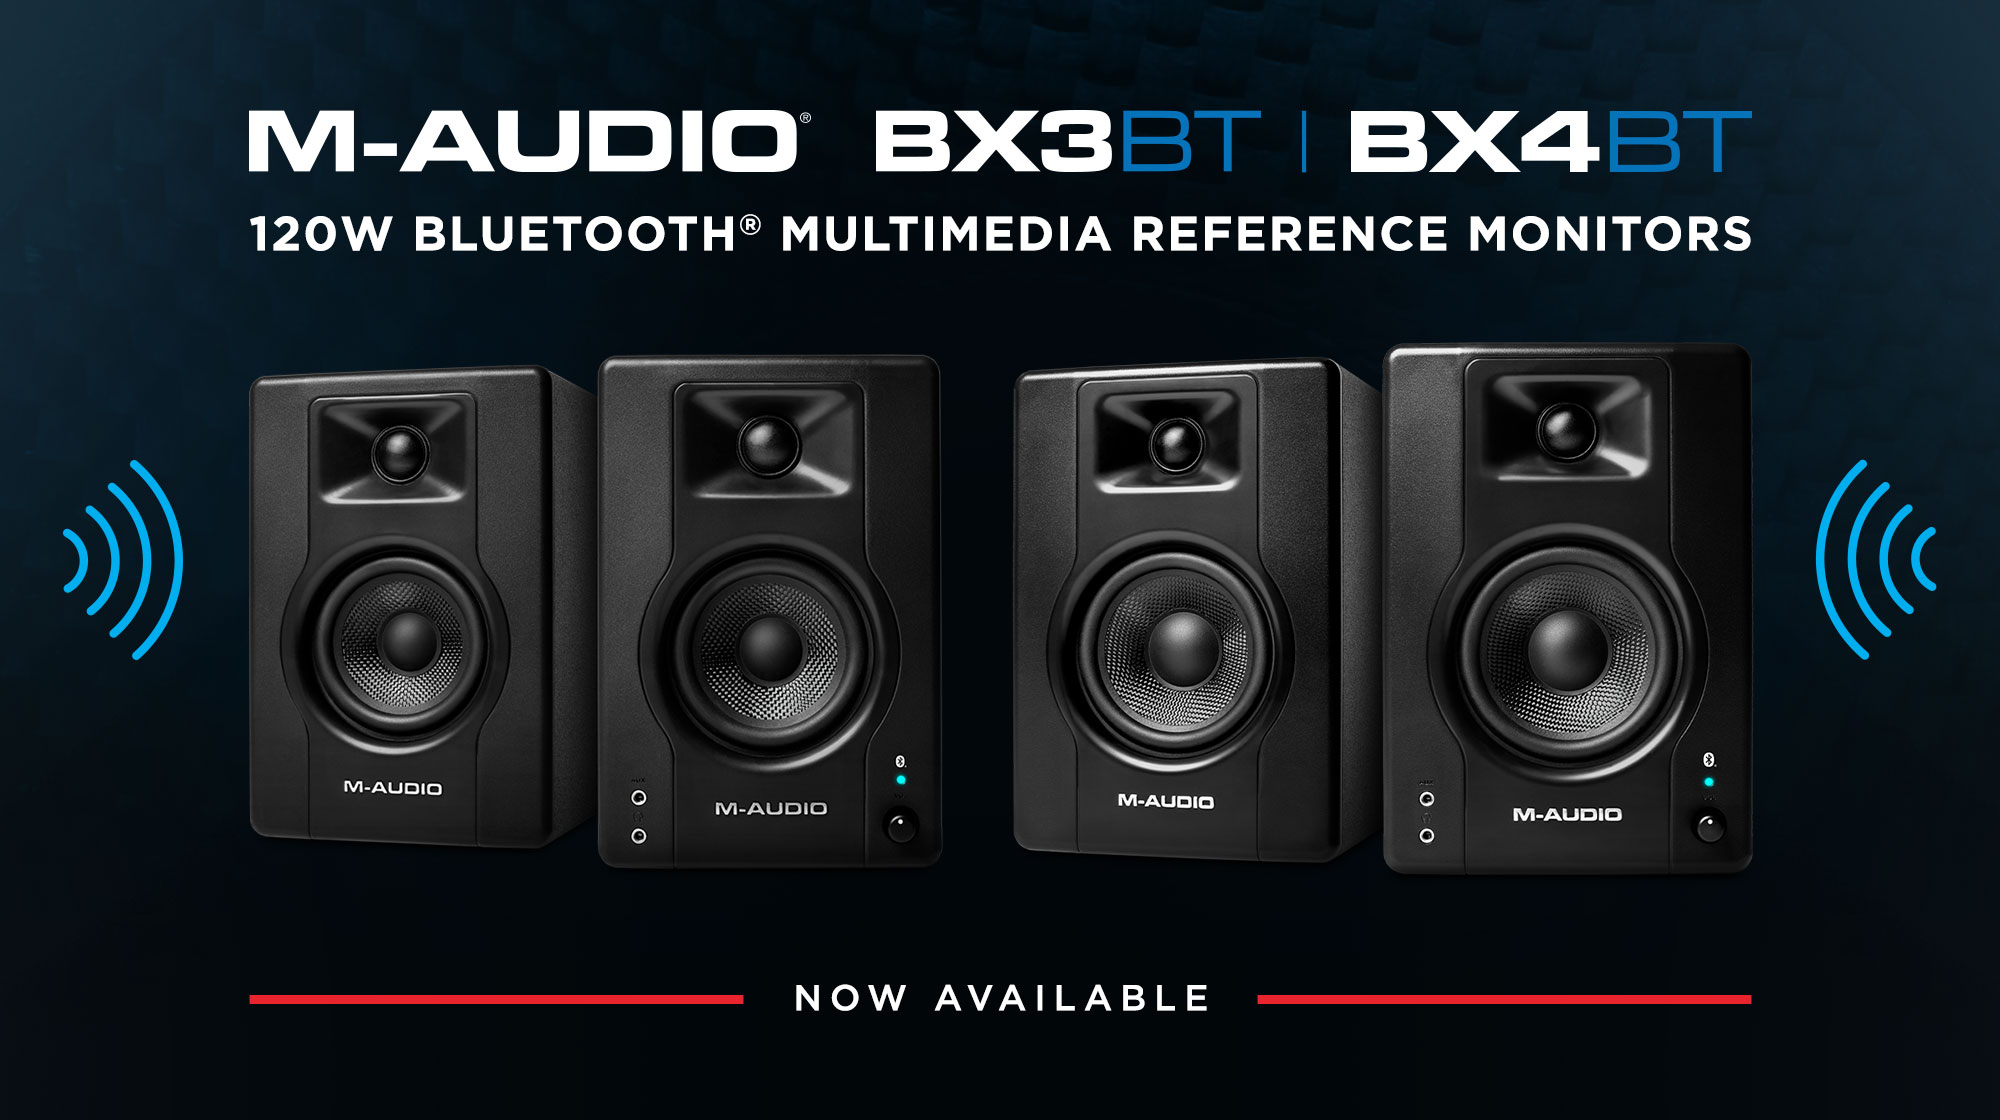
Monitors
Microphones
Accessories
Legacy Products
Support
Support Options
Knowledge Base
Drivers & Updates
Documents
Contact Support
Company
News
About Us
Media Resources
Careers
Privacy
Find a Dealer
International Dealers
Account
Create Account
Sign In
Artists
Artists
International
United States
Canada
United Kingdom
Latin America
Brasil
France
Germany
Japan
Products
New Products
M-Game
Audio | MIDI Interfaces
Keyboard Controllers
Monitors
Microphones
Accessories
Legacy Products
|
Support
|
Support Options
Knowledge Base
Drivers & Updates
Documents
Contact Support
Creation Studio
Company
Artists
News
About Us
Media Resources
Careers
Privacy
Find a Dealer
International Distributors
|
Account
|
Create Account
Sign In
United States
Canada
United Kingdom
Latin America
Brasil
Germany
Japan
SEARCH
Featured
Meet GORDON RAPHAEL
M-Audio Artist
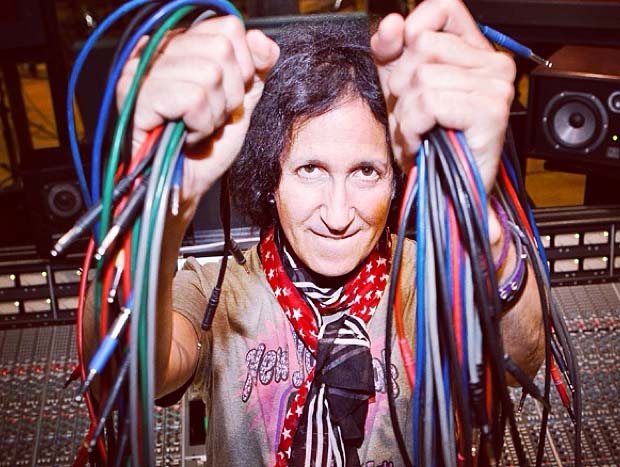
Exclusive: TONY VISCONTI
Watch the video
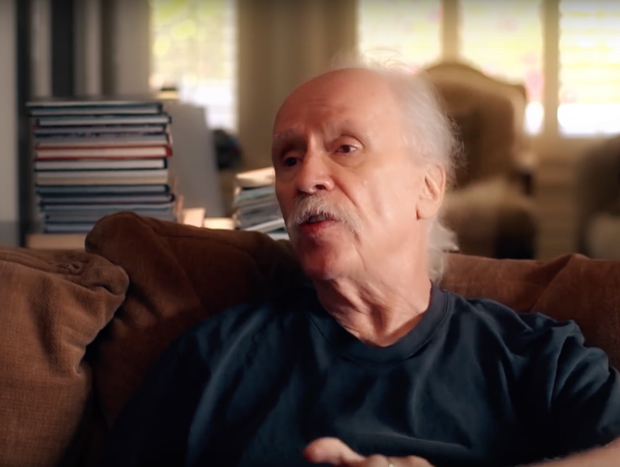
Exclusive: JOHN CARPENTER
Watch the video
Artist: NEIL DAVIDGE
Watch the video
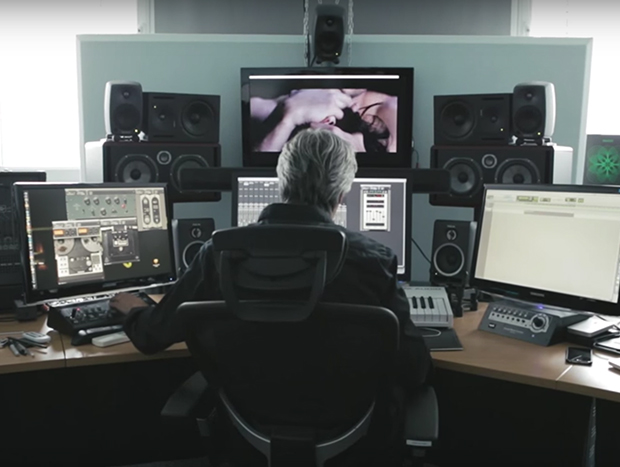
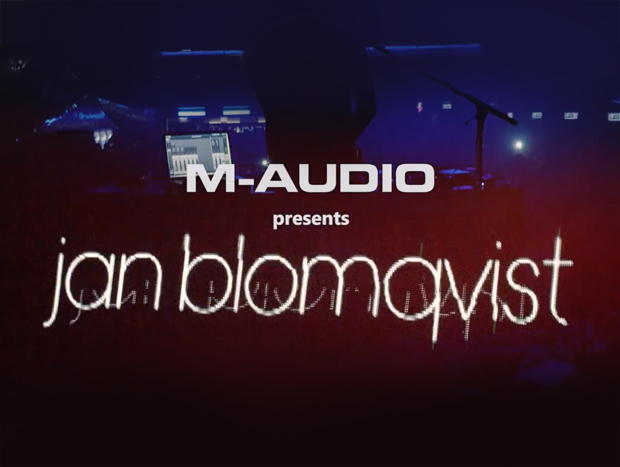
Meet JAN BLOMQVIST
Watch the video
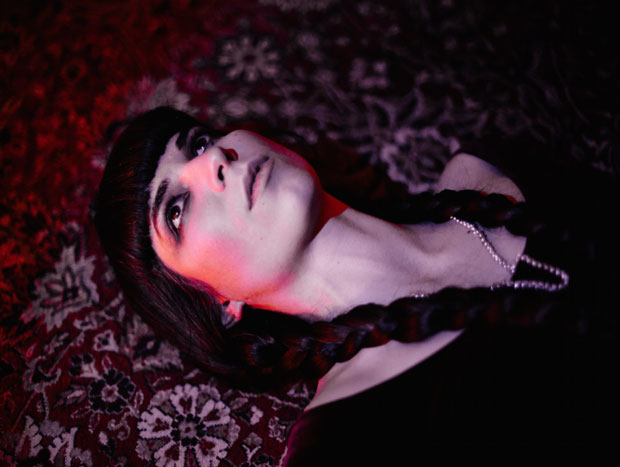
Premiere: CANDICE GORDON
The Laws of Nature
×
×
×
×
Products
New Products
Keyboards
Monitors
Interfaces
Mics
Accessories